Introduction
Losing important data on your iPhone can be a stressful experience. Whether it's photos from a recent vacation, important work documents, or messages with sentimental value, data loss can disrupt your day-to-day life. Fortunately, tools like iRecovery are designed to help users regain access to their lost data quickly and efficiently. This complete guide will walk you through everything you need to know about iRecovery, from its features to step-by-step instructions for using it to rescue your valuable information.

What is iRecovery?
Overview of iRecovery
iRecovery is a powerful data recovery software designed specifically for iPhones. It allows users to recover lost or deleted files from their devices, ensuring that important information is never permanently lost. The software supports a variety of data types, including photos, videos, contacts, messages, and more. By offering a user-friendly interface and robust functionality, iRecovery makes data recovery accessible to everyone, regardless of their technical expertise.
Key Features of iRecovery
iRecovery boasts several features that make it a top choice for iPhone data recovery:
- Comprehensive Data Retrieval: iRecovery can recover a wide range of file types, from media files to text documents and more.
- User-Friendly Interface: The software is designed to be intuitive, with easy-to-follow instructions and clear options.
- Compatibility: iRecovery supports all iPhone models and iOS versions, making it versatile and future-proof.
- Secure Recovery Process: The software ensures that data remains safe during the retrieval process, preventing further loss or damage.
Common Scenarios for Using iRecovery
Data loss can occur in various situations, and knowing the common scenarios where iRecovery can be helpful ensures you're prepared for any eventuality.
Accidental Data Deletion
One of the most common reasons for data loss is accidental deletion. It's easy to mistakenly delete a photo, contact, or message. iRecovery helps by restoring these accidentally removed items.
Data Loss After iOS Updates
iOS updates can sometimes lead to data loss due to glitches or incomplete installations. If your iPhone experiences issues post-update, iRecovery can help you recover any lost data.
Issues from Jailbreaking
Jailbreaking an iPhone can provide more customization options but also increase the risk of data corruption or loss. iRecovery is equipped to handle these complex recovery scenarios, ensuring that your data remains intact.
Preparing for iPhone Data Recovery with iRecovery
Proper preparation can streamline the recovery process and increase the chances of success with iRecovery.
Checking Compatibility
Before using iRecovery, ensure that your iPhone is compatible with the software. iRecovery supports a wide range of iPhone models and iOS versions, but it's important to verify compatibility to avoid potential issues.
Downloading and Installing iRecovery
To get started, download iRecovery from the official website and install it on your computer. Follow the on-screen instructions to complete the installation process. Once installed, launch the software and prepare to connect your iPhone.
Preparing Your Devices
Before initiating the recovery process, make sure your iPhone is fully charged and your computer has enough storage space to accommodate the recovered data. This ensures that the process runs smoothly without interruptions.
Step-by-Step Guide to Using iRecovery
With preparation complete, you're ready to start recovering your lost data. Follow these steps to use iRecovery effectively.
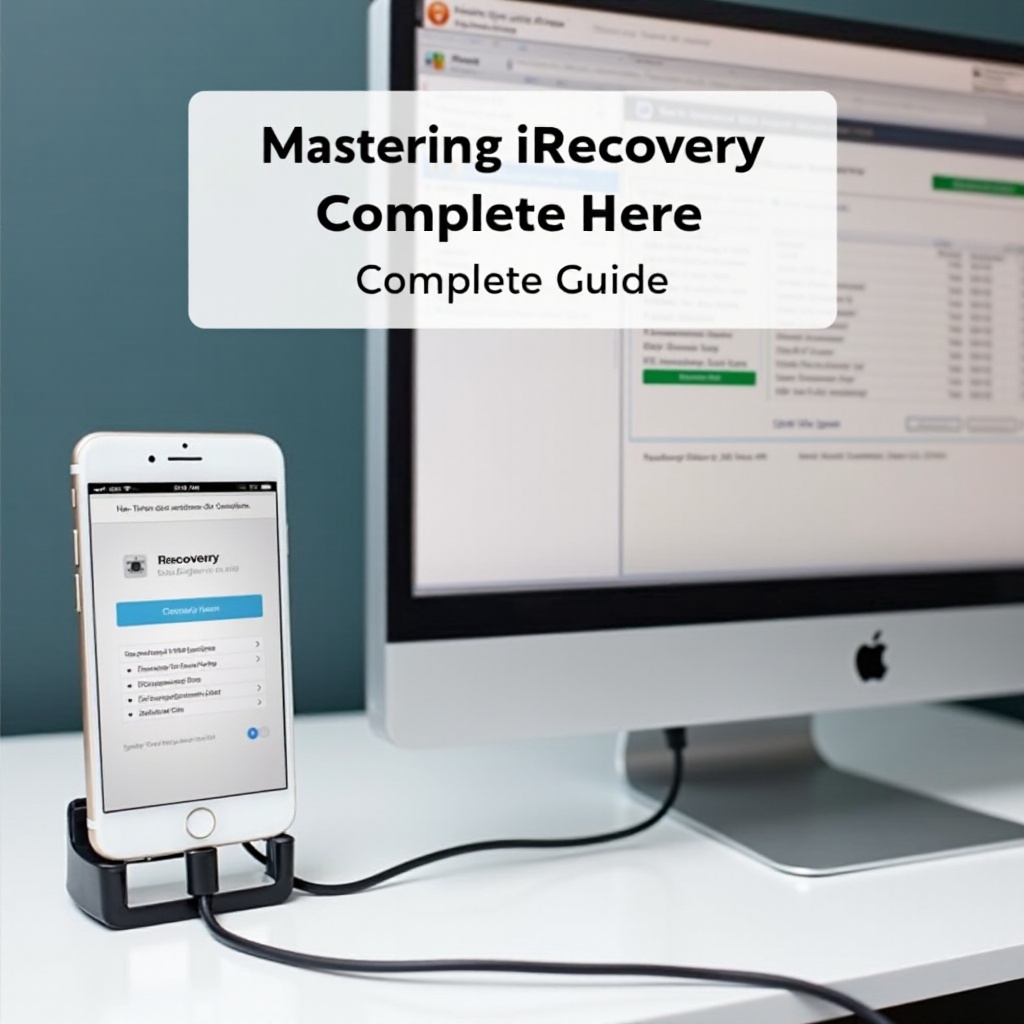
Connecting iPhone to Computer
- Connect your iPhone to your computer using a USB cable.
- Ensure that the connection is secure to prevent disconnections during the recovery process.
Running iRecovery Software
- Launch the iRecovery software on your computer.
- The software should automatically detect your connected iPhone. If it doesn’t, try reconnecting the device or restarting the software.
Navigating the iRecovery Interface
- Once your iPhone is detected, you'll be presented with various recovery options on the iRecovery interface.
- Choose the appropriate recovery mode based on your needs (e.g., standard recovery, deep scan, etc.).
Selecting Files and Initiating Recovery
- Select the types of files you wish to recover (e.g., photos, videos, contacts).
- Initiate the recovery process by clicking the 'Start' or 'Recover' button.
- iRecovery will scan your iPhone and present a list of recoverable files.
- Select the files you want to restore and click 'Recover' to save them to your computer.
Troubleshooting Common Issues
Recovery processes can sometimes encounter obstacles. Here are solutions to common issues you might face while using iRecovery.
iRecovery Not Recognizing Your iPhone
If iRecovery doesn't recognize your iPhone, try these troubleshooting steps:
- Ensure that your iPhone is properly connected to your computer.
- Use a different USB cable or port if necessary.
- Restart both your iPhone and computer.
- Ensure that you have the latest version of iRecovery installed.
Recovery Process Failing
If the recovery process fails, consider the following:
- Check your internet connection, as some recovery functions may require online access.
- Make sure your iPhone has sufficient battery life.
- Reinstall iRecovery to ensure all files are intact.
Post-Recovery Data Safety
After recovering your data, take these steps to ensure it remains safe:
- Create regular backups of your iPhone data using iCloud or iTunes.
- Store important files in multiple locations to prevent future loss.
- Use reliable apps and avoid jailbreaking your device to minimize risks.

Best Practices for Preventing Data Loss
Prevention is always better than cure. Incorporate these best practices into your routine to protect your data.
Regular Backups
Regularly back up your iPhone data via iCloud or iTunes. This ensures that you always have a recent copy of your information in case of future issues.
Using Reliable Apps
Use only reliable and trusted applications on your iPhone. Avoid downloading apps from unknown sources, as they may cause data corruption or loss.
Keeping iOS Updated
Keep your iOS updated to the latest version. Regular updates often include bug fixes and security patches that protect your data from vulnerabilities.
Conclusion
iRecovery is a robust tool that can save you from the panic of data loss on your iPhone. By understanding its features, preparing properly, and following a step-by-step guide, you can efficiently recover lost or deleted files. Remember to implement best practices for data safety to minimize the risk of future data loss. With iRecovery, you can confidently handle data recovery and keep your valuable information secure.
Frequently Asked Questions
Can iRecovery recover data from a physically damaged iPhone?
iRecovery primarily deals with software-based data loss. If your iPhone is physically damaged, you might need to consult a professional repair service.
How long does the iRecovery process usually take?
The time required for recovery can vary based on the amount of data being retrieved and the recovery mode used. Typically, it can range from a few minutes to several hours.
Is iRecovery safe to use with all iPhone models?
Yes, iRecovery is designed to be compatible with all iPhone models and iOS versions. However, always check for the latest software updates to ensure optimal performance.


